
03 / POWER PLANNING
Rack power planning See the feeds behind the rack total.
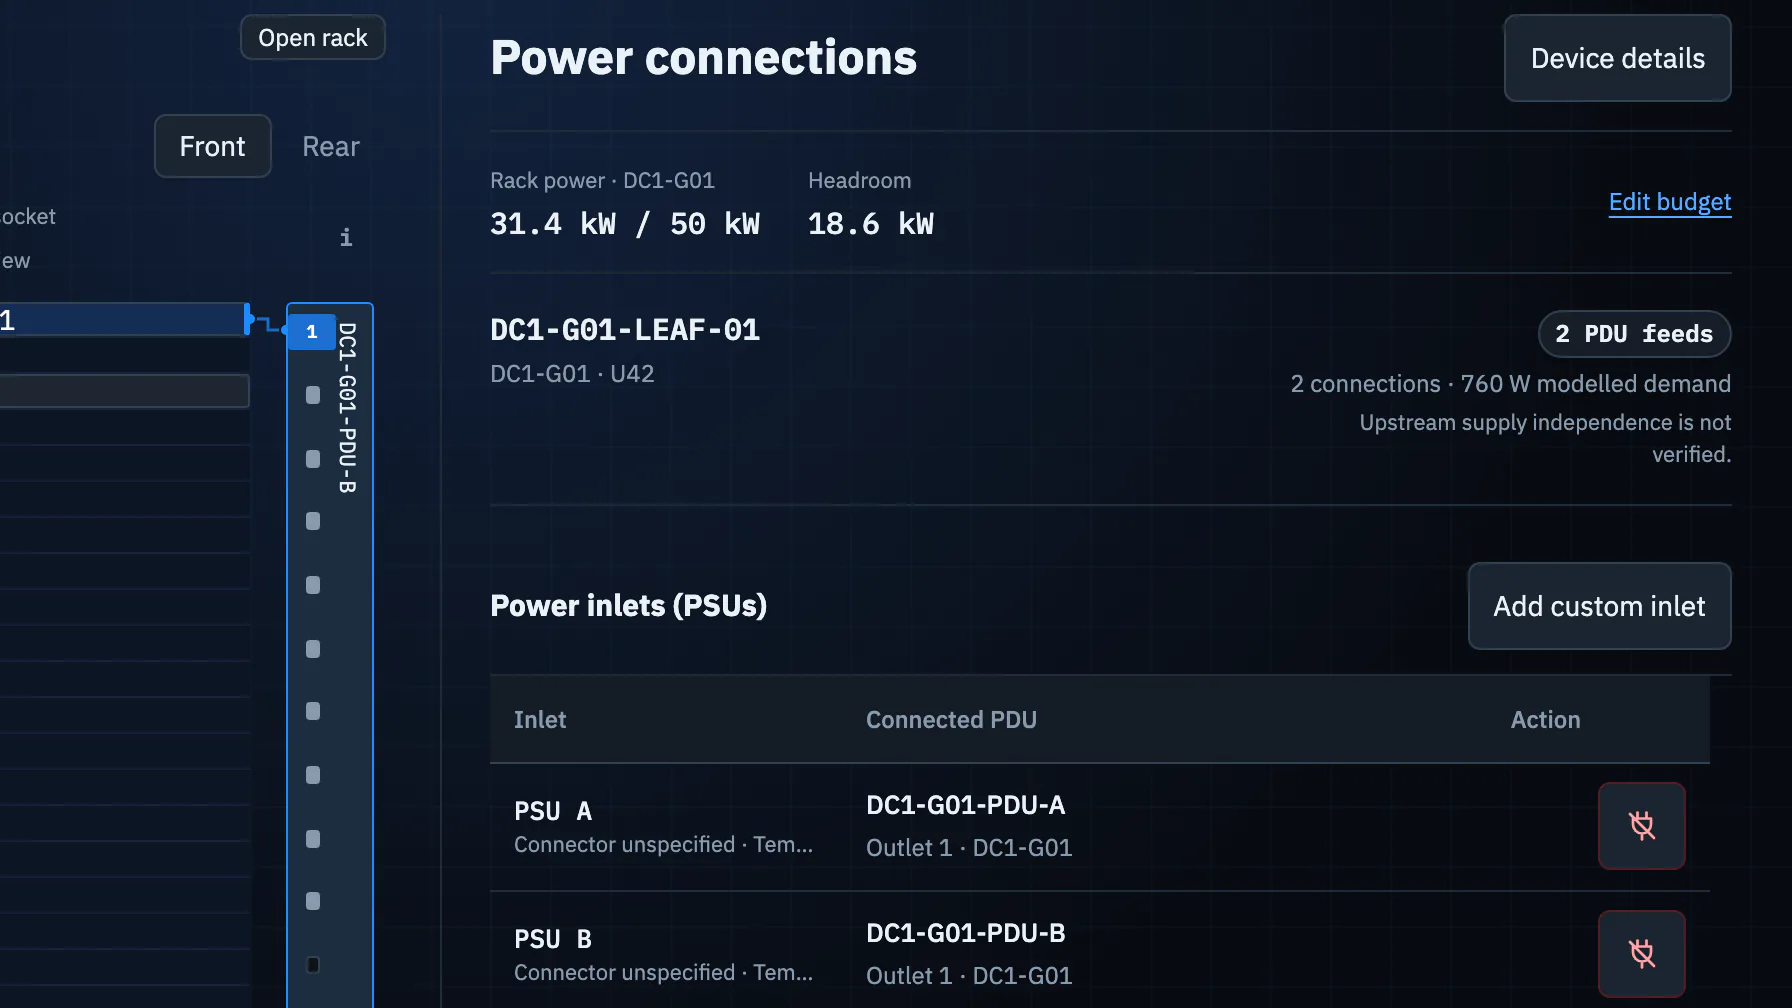
A rack power number is useful only when you can see which equipment contributes to it and where its inlets connect. Plan device-to-PDU outlet connections and compare estimated demand with a rack budget before the design is installed.
Explore the example first; an account is needed to save your own work.
THE JOB TO DO
Capacity and connectivity need one view
A spreadsheet can add device watts, but it is easy to miss an unconnected inlet or a PDU outlet already assigned to something else. Railyard ties the rack budget, device demand, physical PDU placement and recorded outlet feeds together so those gaps are visible during design review.
THE WORKFLOW
Work from each inlet to its outlet
Set the planning limits
Give the rack a power budget and choose device types with known draw where possible. Unknown demand stays identified rather than being counted as zero.
Connect the feeds
In the Power workspace, connect a device inlet to a free PDU outlet or start from the outlet. Rack-mounted and 0U side PDUs can both be represented.
Review headroom and gaps
Compare estimated rack demand with its budget, inspect the connection routes and use design findings for unconnected devices, single-PDU exposure and capacity warnings.
THE RESULT
Have a power conversation before deployment
The plan makes it easier to ask whether a proposed cabinet has enough capacity and whether the intended outlets are allocated. Power, heat and weight roll-ups give the team a consistent starting point for review and an exportable report.
SEE IT IN CONTEXT
Start with a real example estate.
Follow one guided task, then inspect how the rack, cables, power and export fit together.